
shared kids' bedroom organization (one room challenge week 4)
Welcome to week 4 of the One Room Challenge! We are making over a formerly feminine nursery into a shared boy-girl bedroom in six short weeks. Wanna catch up? Check out week 1, week 2, and week 3.

What to do with all your kids’ stuff is a major dilemma of parenthood. It starts early. Excited expectant parents register for all the things including things that experienced parents know will never be used (hello, diaper wipe warmer). You’ve seen it play out in restaurants across the country a million times: new parent walks in with baby and half a storage unit of stuff in tow. Parent of toddler hardly notices because toddler has a full backpack of toys just to get through a 45 minute meal. Parent of college student observes the scene, sips her beer, and smiles. Her hand bag is big enough for her keys, phone, and wallet only. It is a progression that we all go through. Sooner or later, we all begin to throw things out when our kids aren’t watching. No? Just me? I didn’t think so.
Joking aside, kids really do have a lot of stuff. Their wardrobes are constantly changing as they grow. Their toys evolving as their skills develop. We don’t want to throw things away for fear that we might have to repurchase them for baby number two or three or maybe because we don’t feel we’ve gotten our money out of them yet. And for many kids, the pride of ownership is an important part of development, as is the autonomy of deciding what to keep and what to pitch.
Wherever you stand on the stuff debate, I think we can agree that none of us want to look at all of our kids’ stuff. This – how to store all the stuff – is where we concentrated our time and energy over week four of our One Room Challenge shared kids’ room.
The closet
If you recall, the kids’ individual closets looked like this when we started this project:


Both closets had a slightly odd shape that was deeper than a traditional clothing closet. You may also remember that one of the reasons we chose to move both kids into C’s room was because her closet was bigger. We wanted to come up with a plan that included both hanging space and bins space for the kids to store clothes and toys in their closet. Mom, Whitney, also wanted a place for off season clothes.
Closet planning is tricky because it is highly individual. In this case, the kids are not the primary users of the closet. Yet. Tomorrow may be a different story, so we had to plan accordingly.
We looked at several closet spaces with a combination of shelf and hanging space for inspiration. Whitney ultimately wanted two rows of hanging space for each child. This plan via Ana White, goddess of all things DIY, is what Whitney settled on. Why reinvent the wheel, no?
Dusty began by clearing out the closet and sketching his design.

Rather than cubbies on the bottom, Dusty opted for a bank of 11" tall x 22" wide shelves. The top and bottom shelves he planned slightly taller (15") to accommodate out of season clothes and extra toys, respectively.

Now, if you are planning to try this at home, a little hint. I highly recommend picking your baskets before deciding on your shelf depths and heights or using a standard size. Baskets come pretty standard in 7", 11", or 12" tall. They also are typically 12" - 15" deep, and these shelves are only 11" deep, limiting our basket search a bit. More on that in a minute.

The closet came out nicely. It has been primed and will be painted this weekend. Hang bars will also be installed this weekend. In the meantime, I took a trip to The Container Store and Target to search for bins...
The bins
There is a misconception out there that decorator’s shop all day. Yes, part of the job includes shopping, but problem solving and planning is really the key. My mistake in this challenge was not checking with Dusty and Whitney about the shelf depths before the shelves were built. I assumed they were using the Ana White plans adjusted for the size of the closet and I assumed that those plans accounted for bin size. This meant extra shopping for me as I needed to find sturdy, budget-friendly bins that would fit into an 11” x 11” x 22” space.
A word on kid closets in general. You often see cube shaped bins in photographs of kids’ closets because they look nice and organized. Cubes are fantastic for kids who do not like to fold. They can toss everything in the cube out of sight. If you want your kids to fold their clothes or you want your child’s clothes to be organized, a shallower bin is a better option.
I gave up long ago on the fight to get my kids to put things away the same way that I would. Ok, not really. I still fight it. But I’m getting better. If it isn’t on the floor, that is an improvement. Whitney still puts her kids’ clothing away so she can organize the closet in the way that works best for her.
Keeping that in mind, I found some pretty good bins at The Container Store.
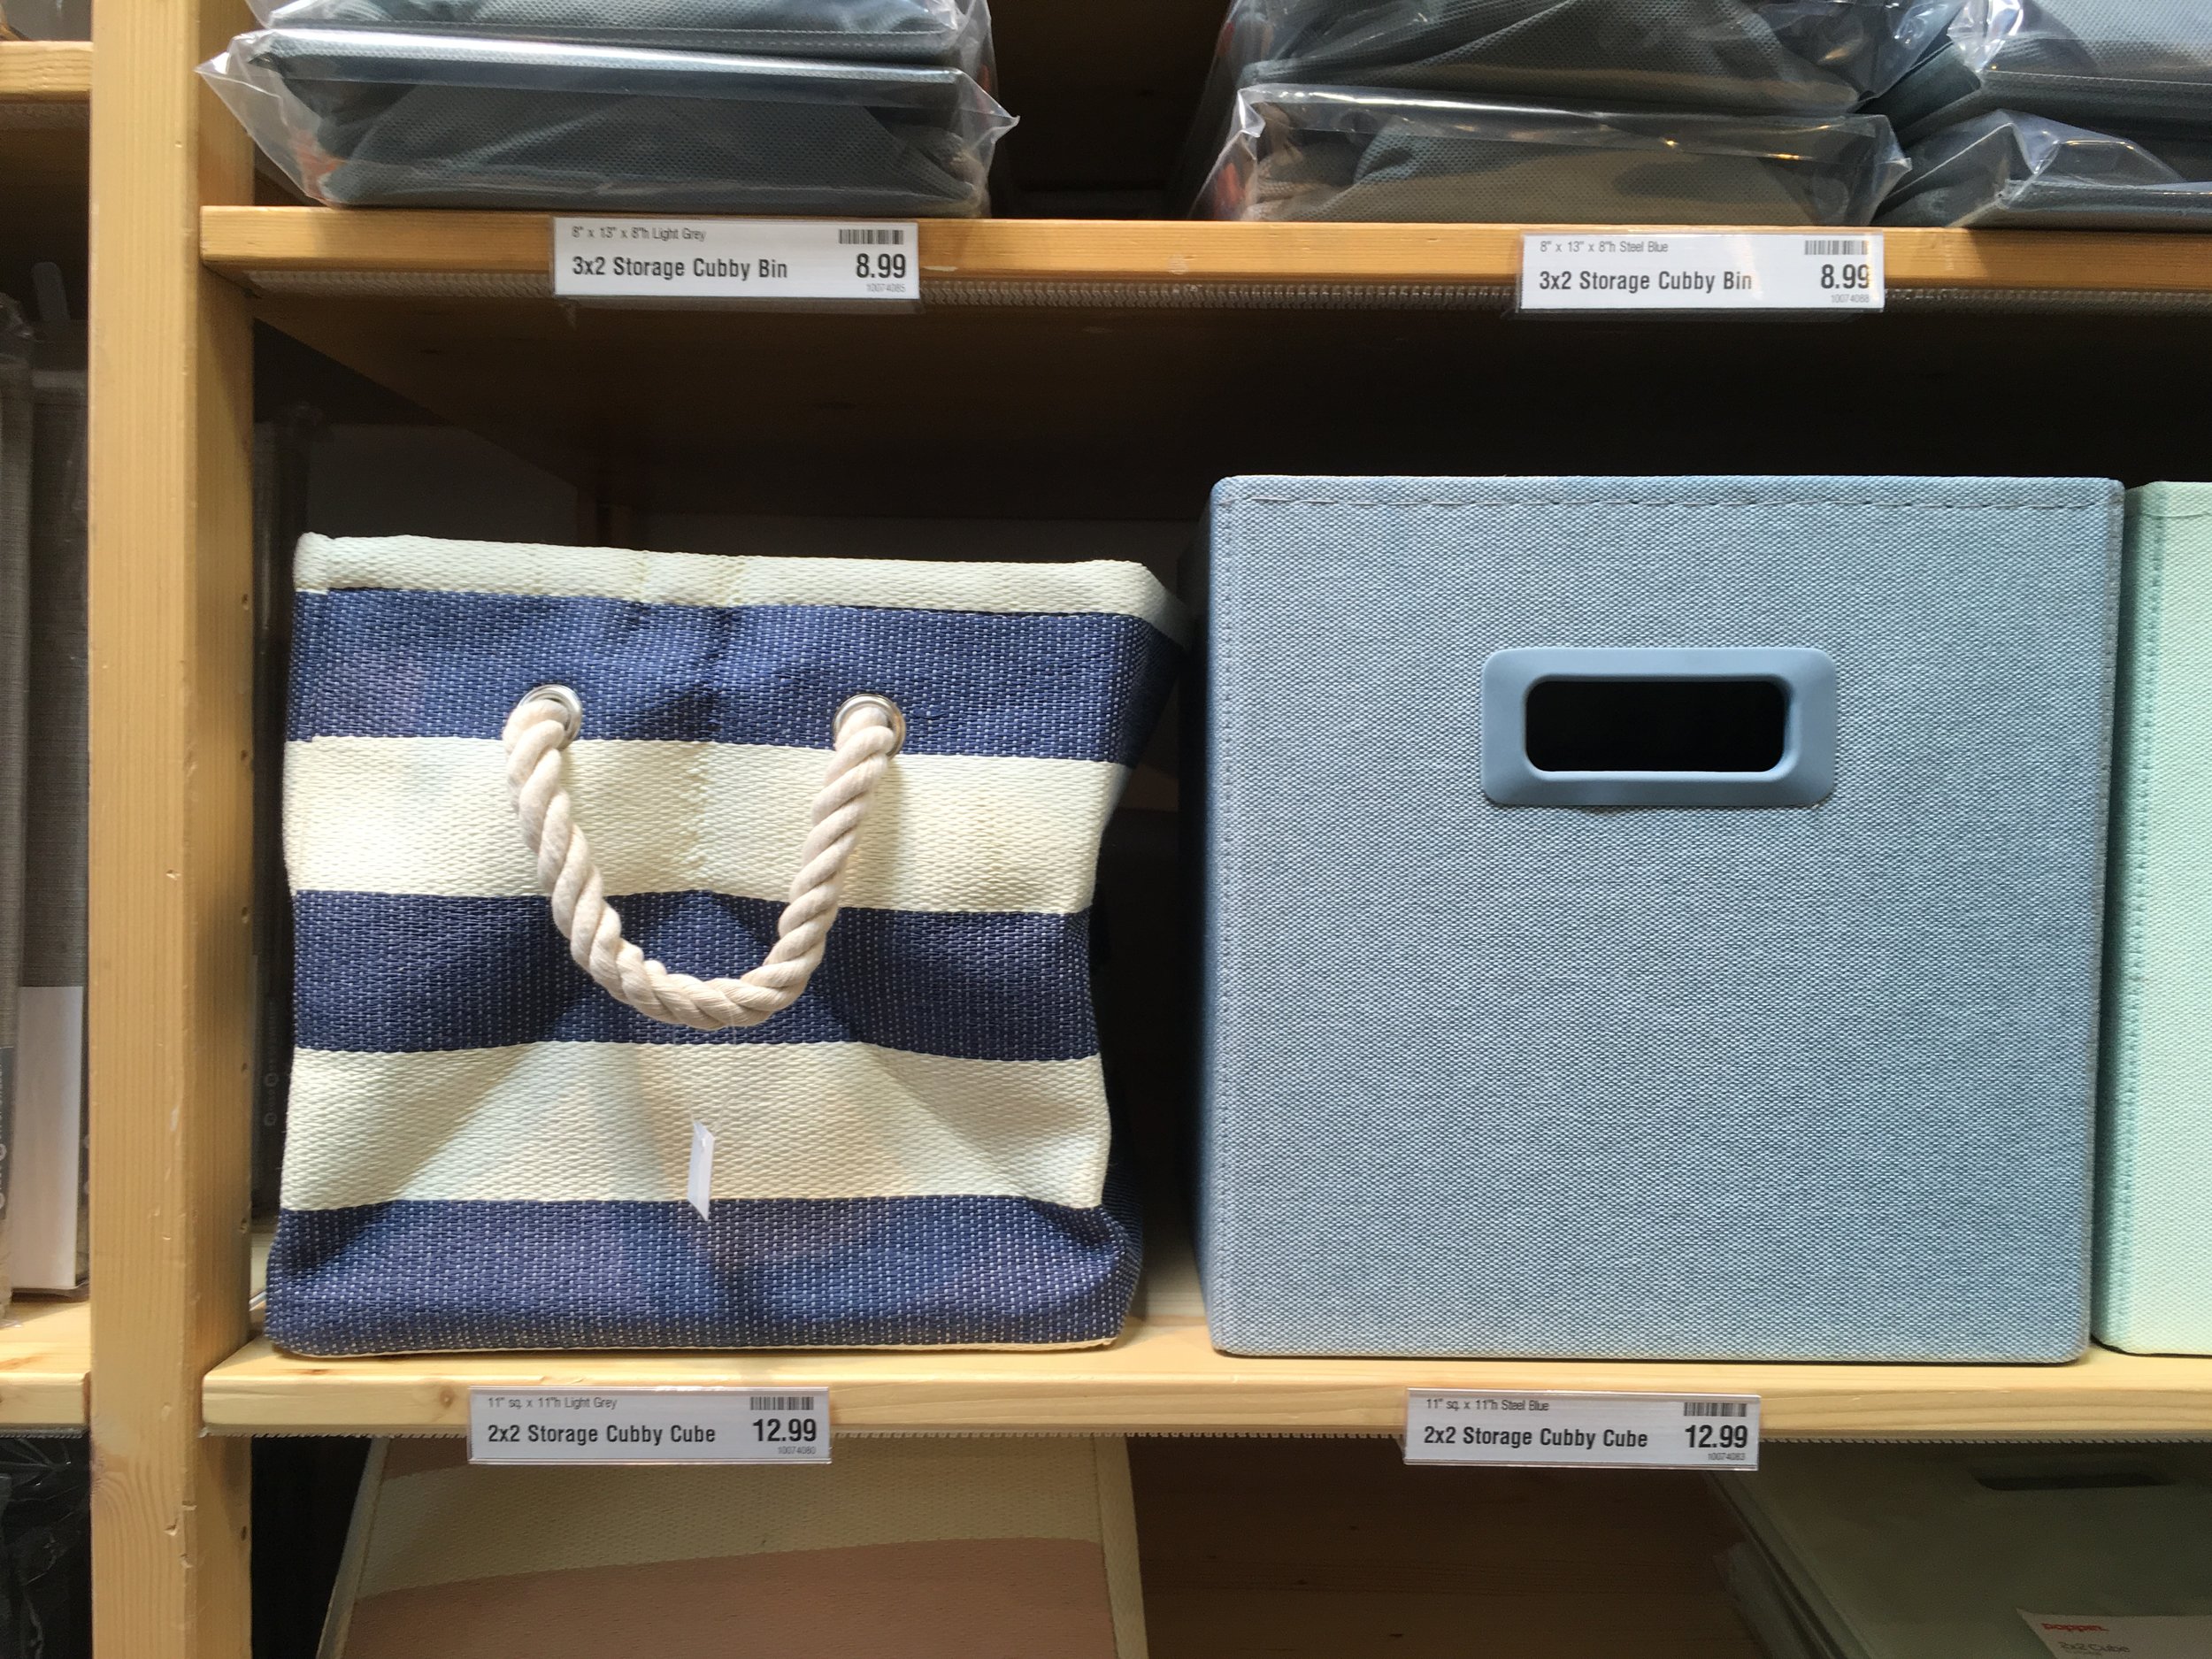
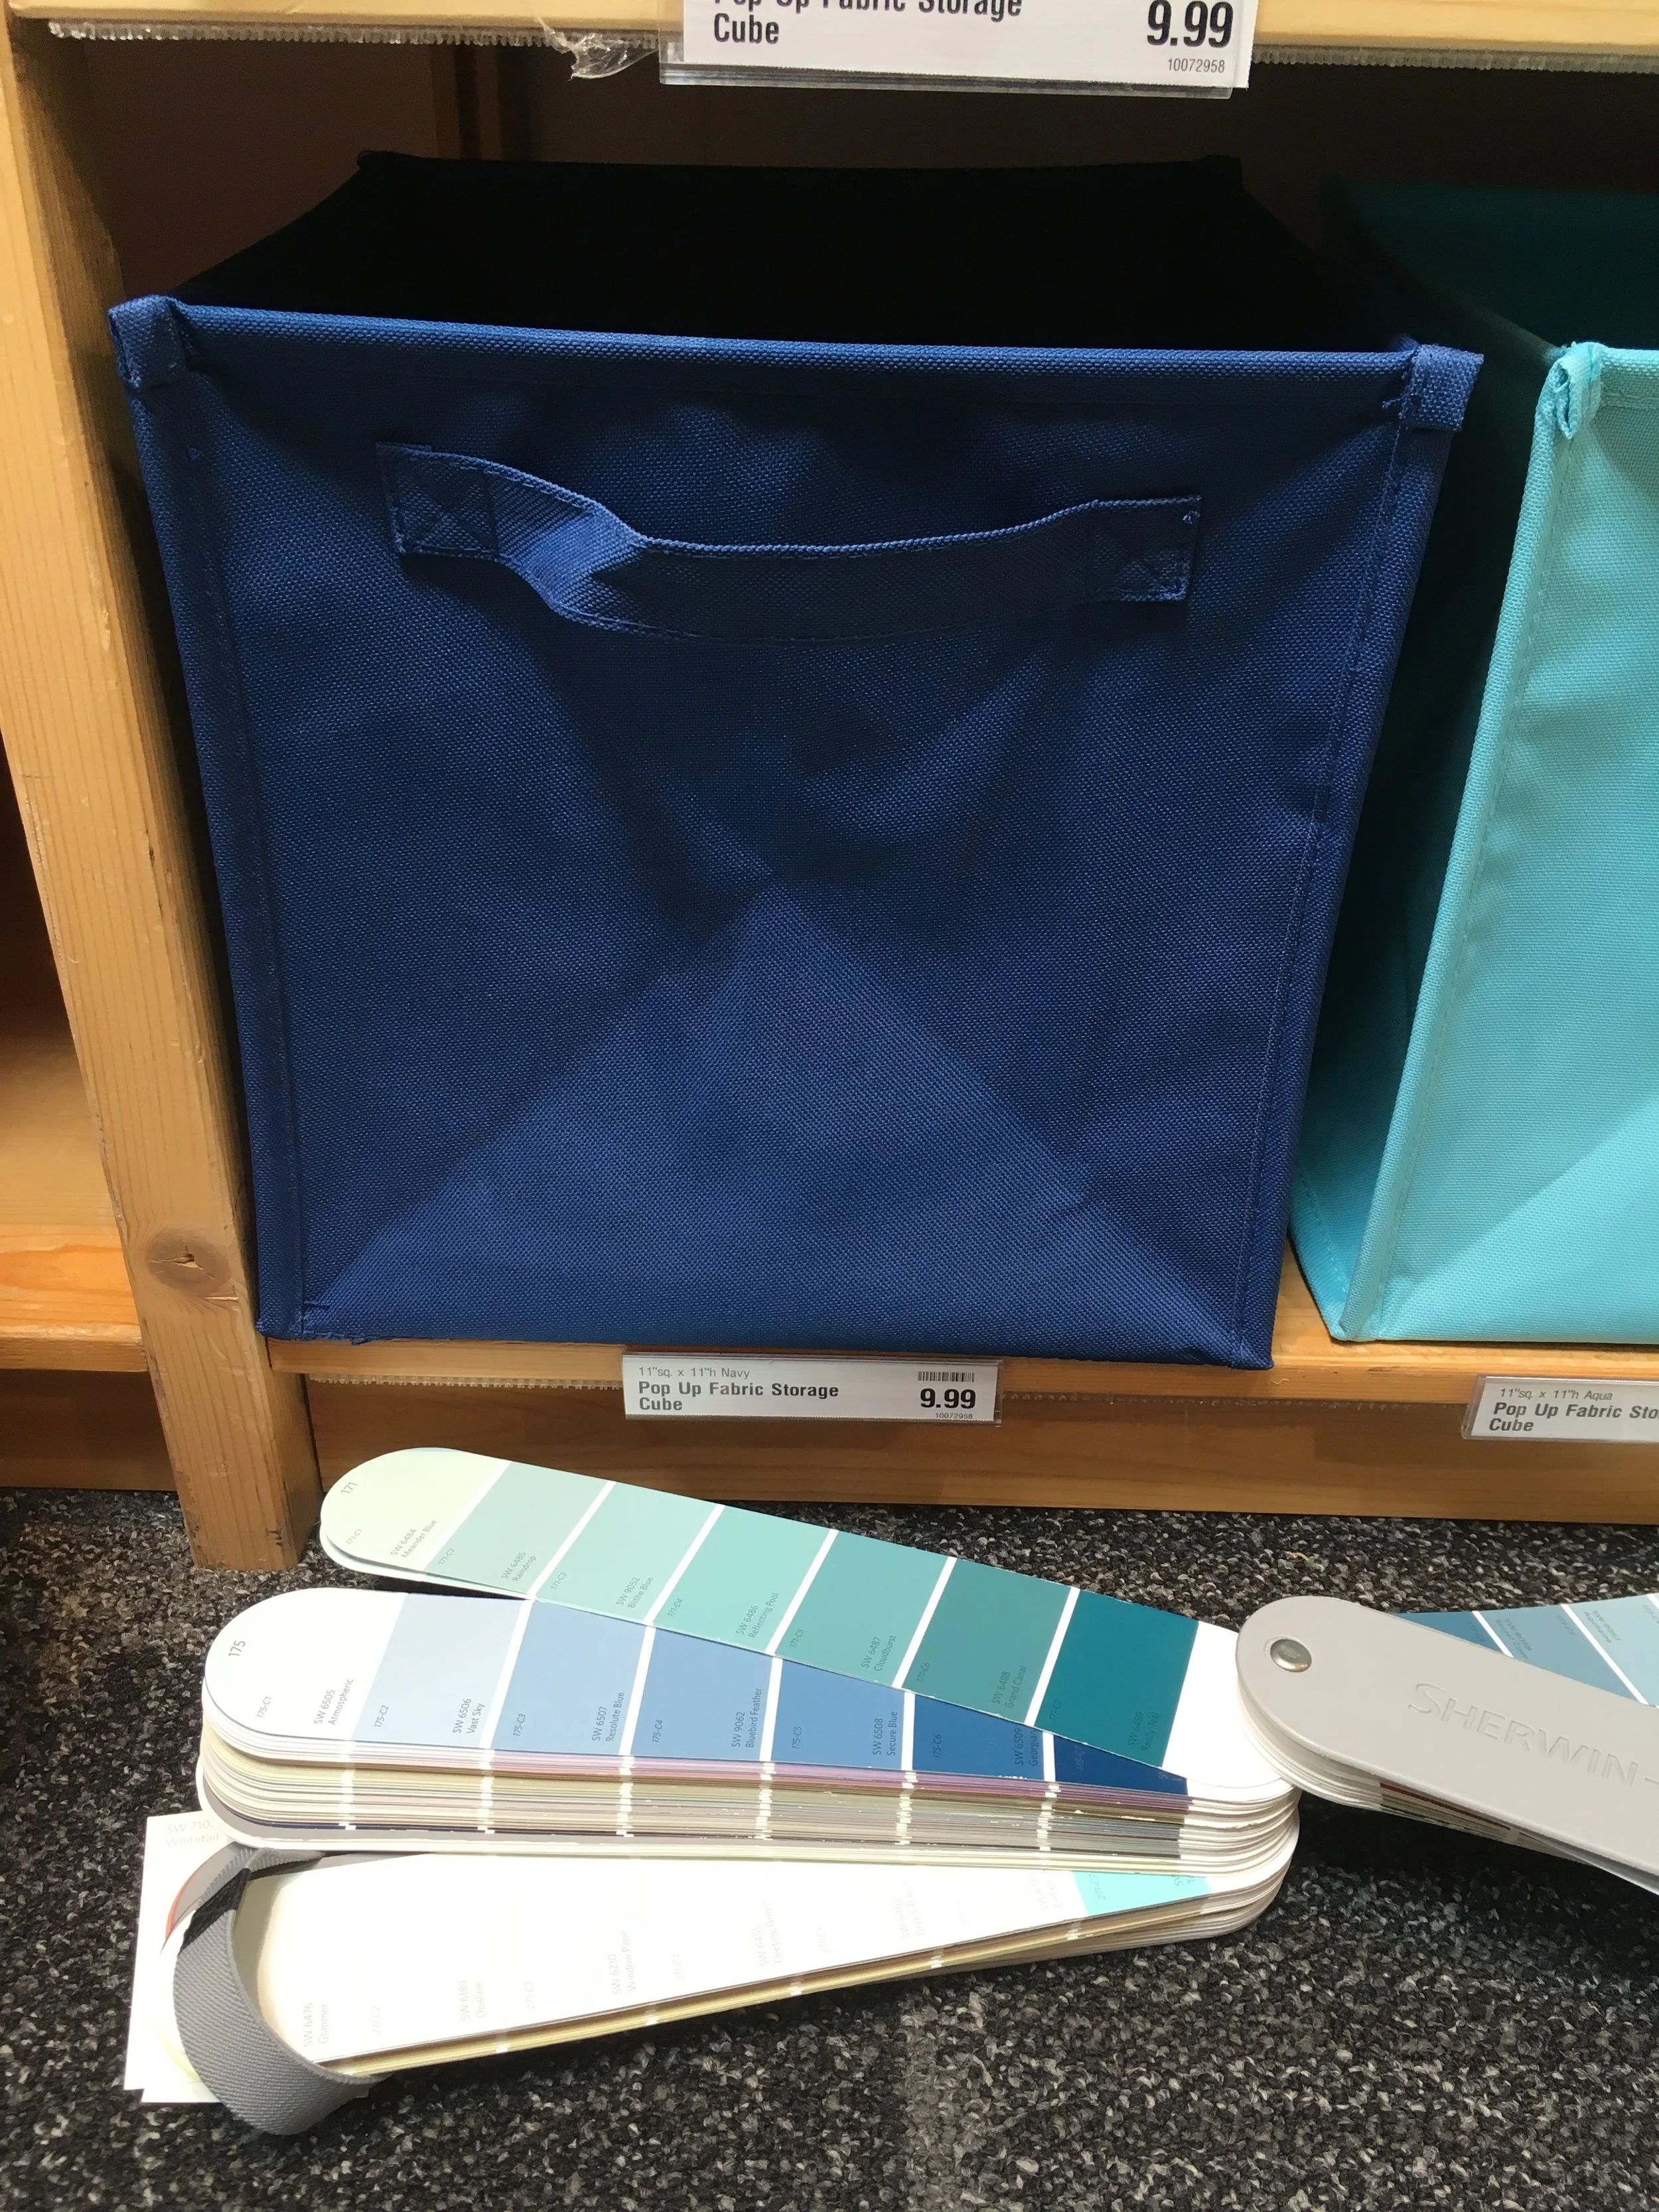


Those light blue bins in the top photo were both of our favorite. I was also a huge fan of the collapsable bins in the bottom photo because the inside could be wiped out. They were light weight and perfect for toys.
I almost talked Whitney into letting me DIY the bins with PJ Masks and Princess vinyl cut outs. We debated whether the kids’ excitement over characters in their closet could possibly outweigh the tacky factor. Still TBD. In the end, Target solid bins won out over the cooler but definitely more expensive Container Store bins. The price point was too good to beat and the quality pretty decent. We've got these bins on order so will hopefully be able to see the result next week. Until then, here's a little mock-up of how the closet will (hopefully) look when finished:

Looks pretty good, right? I'll tell you what else looks pretty good. Melissa's IKEA shelf hack on Bisou Style. Her attic office transformation is my favorite so far of this year's featured One Room Challenge participants. What a difference a coat of paint makes. I'm also super into Emily's bedroom transformation and as much as I am decidedly NOT a red person, these red kitchen cabinets are amazing. I adore the colors going into this office. Wish I was that bold. Anyway, while you wait with held breath to see how this closet comes out, check out the 150+ guest participants' progress over at One Room Challenge!